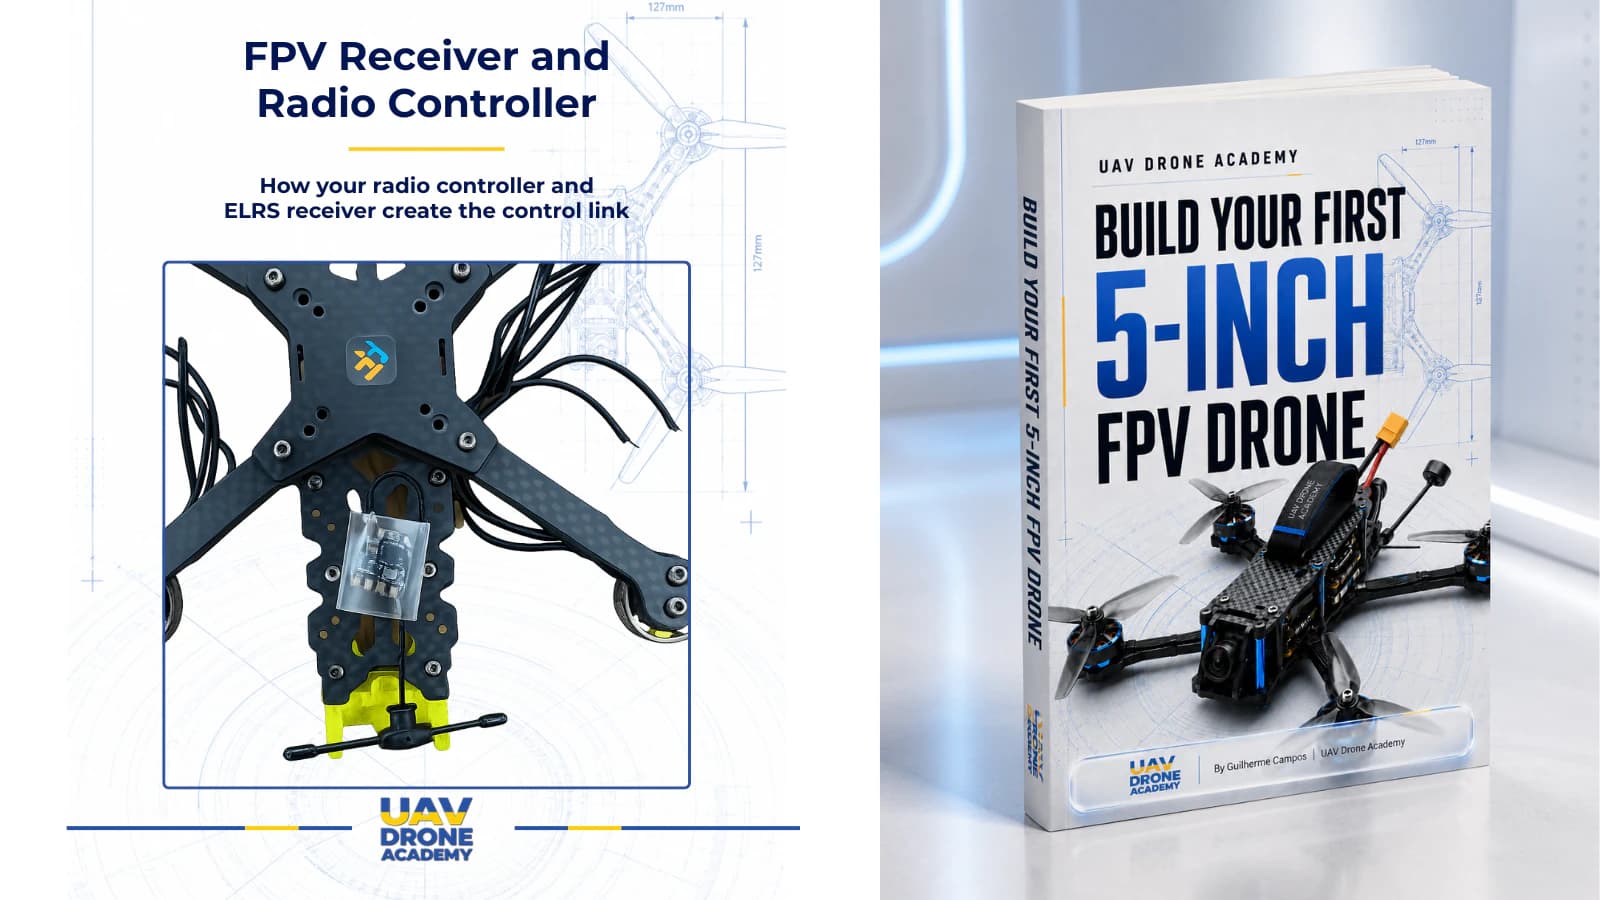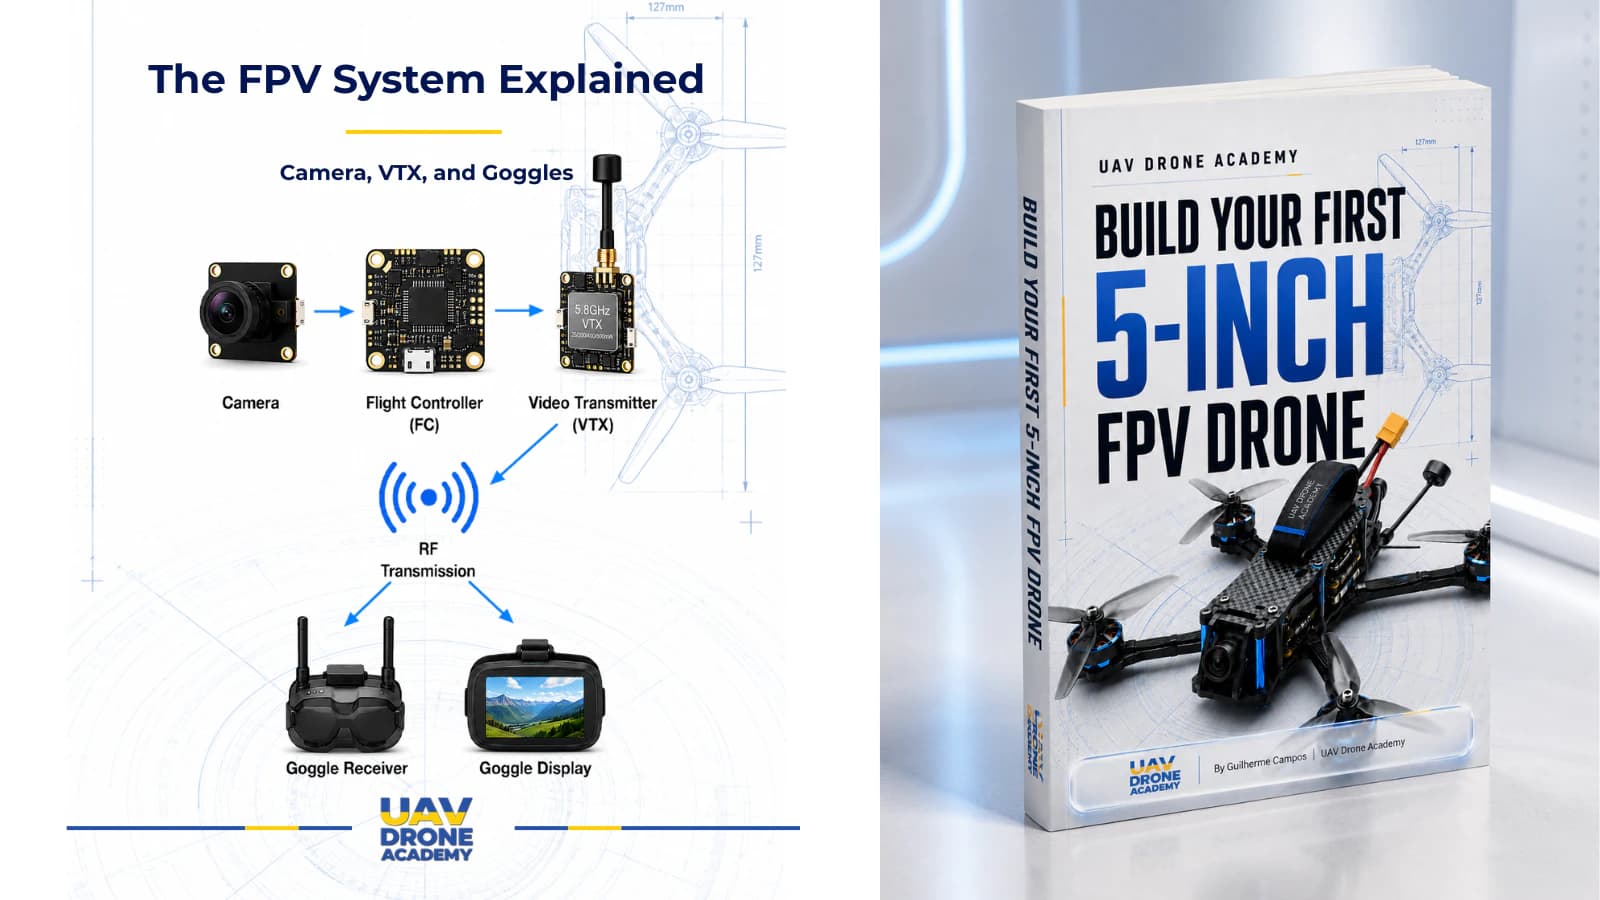
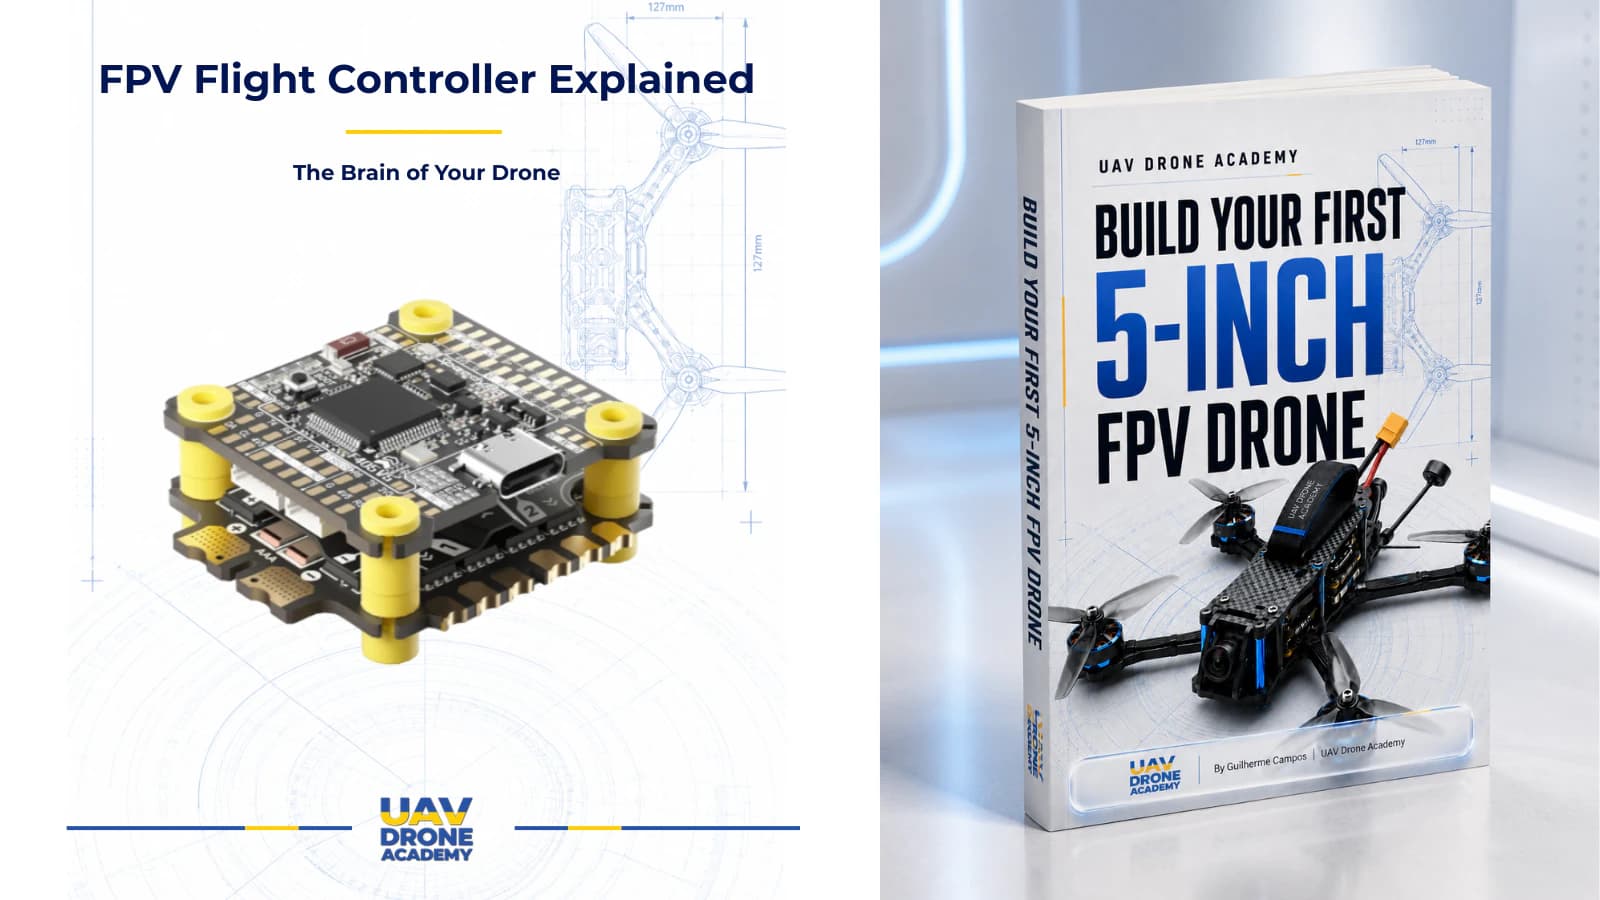
Somewhere in the middle of your drone sits a board smaller than a matchbox, quietly making thousands of decisions every second so you don't have to. That board is the FPV flight controller, usually just called the FC, and it is the closest thing your quad has to a brain. Every stick movement you make, every gust of wind that shoves the drone sideways, every tiny correction that keeps it from flipping into the dirt passes through this one component.
We already met the FC briefly in our FPV drone anatomy guide. Now it gets the full treatment: what it actually does, how the sensors inside it work, why everyone keeps talking about Betaflight, and why the FC and ESC are usually sold together as a stack.
What an FPV Flight Controller Actually Does
Strip away the marketing and an FPV flight controller is a small circuit board with three jobs: read inputs, do the math, command the motors. The inputs come from two places. Your radio sends stick commands through the receiver, following the path we mapped in FPV drone signal flow. At the same time, sensors on the board report what the drone is physically doing in the air.
The FC compares the two. You asked for a gentle roll to the left, but the gyro says the drone is rolling faster than that. So the FC adjusts the speed command for each individual motor and sends the result to the ESC. Then it does the whole thing again. In Betaflight, this control loop runs thousands of times per second, which is why a well-tuned quad feels like an extension of your hands instead of a shopping cart with propellers.
Physically, the board carries a processor (you will see names like F405 or F722, referring to the F4 and F7 chip families), the sensors, and a set of solder pads and connectors for everything else: receiver, VTX, camera, buzzer, GPS. A USB-C port lets you plug the FC into your computer for configuration, which we will get to in a moment.
The Gyroscope: Why Your Drone Does Not Tumble
The gyroscope, or gyro, measures rotational movement. It tells the FC how fast the drone is rotating around each of its three axes: roll (tilting side to side), pitch (nose up or down), and yaw (rotating left or right, like turning your head). The gyro does not know where the drone is or which way is up. It only knows rotation speed, and it knows it extremely well.
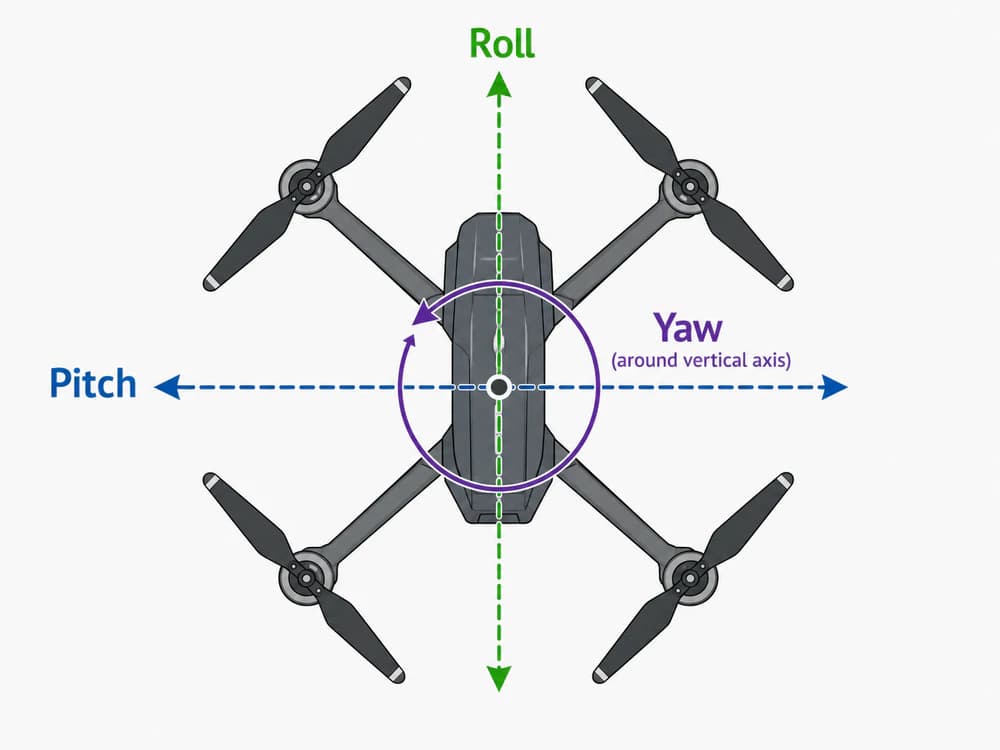
That single measurement is enough to keep a quadcopter stable. If a gust rolls the drone to the right and you did not ask for it, the gyro reports the unwanted rotation and the FC counters it with a small motor correction before you even notice anything happened. This runs constantly, in the background, on every flight. A quadcopter without a working gyro is not a drone anymore. It is four motors arguing with physics, and physics wins in about half a second.
This is also why gyro data quality matters so much. Vibration from an unbalanced propeller or a bent motor shaft shows up as noise in the gyro signal, and the FC starts correcting movements that never actually happened. That is one of the reasons modern stacks mount the FC on soft rubber grommets: to isolate the gyro from frame vibration.
The Accelerometer: Angle Mode vs Acro Mode
The accelerometer measures linear acceleration and, more importantly for us, the direction of gravity. That gravity reference is what lets the FC know which way is up, something the gyro alone cannot tell it. Here is the part that surprises many beginners: the FC only uses the accelerometer in specific flight modes.
In angle mode (self-leveling), the accelerometer is active. Release the sticks and the drone levels itself back to horizontal. The maximum tilt is also limited, so you cannot flip even if you slam the stick to the edge. This is the training-wheels mode, and it is a perfectly respectable place to start.
In acro mode (also called rate mode), only the gyro is used. Your sticks command rotation rates instead of angles, and the drone holds whatever attitude you leave it in. Release the sticks in the middle of a roll and it keeps flying at that bank angle until you say otherwise. Every flip, roll, and dive you have seen in a freestyle video happens in acro mode.
Here is the practical difference between the two:
| Mode | Active sensors | Stick behavior | Best for |
|---|---|---|---|
| Angle (self-leveling) | Gyro + accelerometer | Stick position sets the tilt angle; drone auto-levels | First flights, careful practice |
| Acro (rate) | Gyro only | Stick position sets the rotation speed; no auto-level | Freestyle, racing, everything long term |
The takeaway: start in angle mode if it helps your confidence, but plan the move to acro early, because that is where FPV actually lives.
Betaflight: The Firmware Running the Show
Hardware without software is just a warm paperweight, and the software running on your FC is called firmware. For FPV drones, the standard firmware is Betaflight: free, open source, and supported by almost every flight controller on the market. Other options exist, like INAV for GPS-focused cruising, but for a beginner building a 5-inch freestyle quad, Betaflight is the safe default. It has the most tutorials, the most presets, and the most people ready to help when something breaks.
You configure everything through Betaflight Configurator, a desktop application that connects to the FC over USB. That is where you set up receiver channels, flight modes, motor order, the OSD layout in your goggles, and eventually PID tuning when you feel brave.
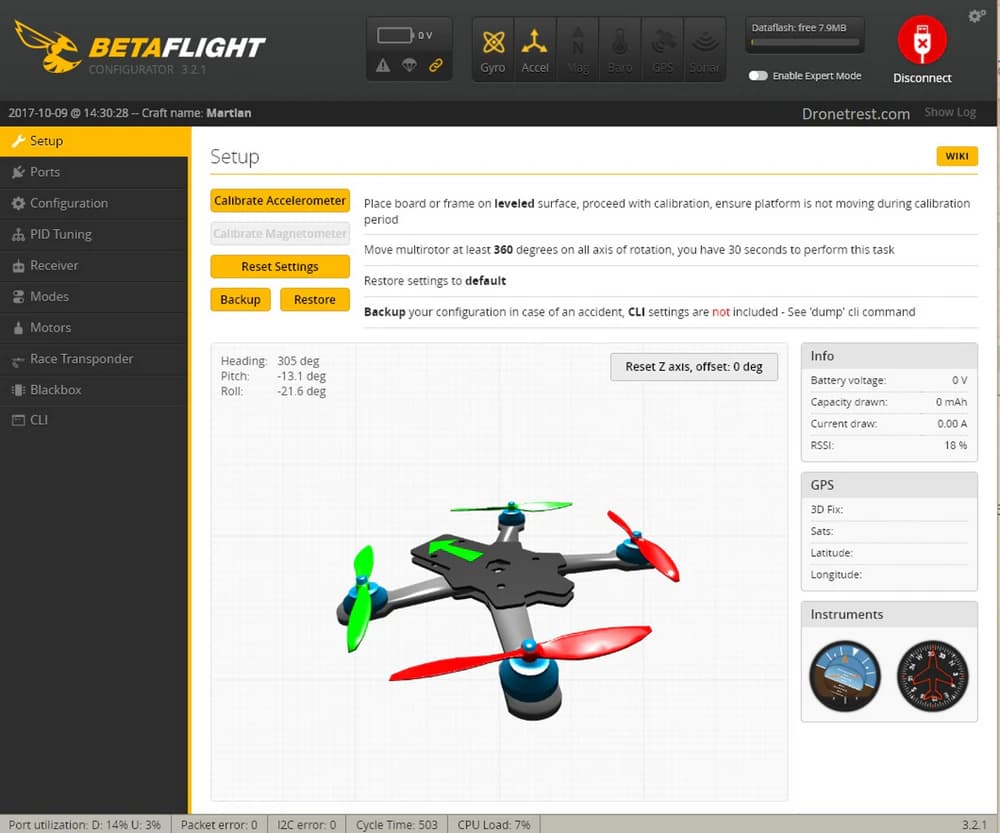
One habit worth building from day one: firmware is flashed for a specific target, meaning the exact board model you own. Flashing the wrong target can leave you with a board that powers up but behaves strangely. Your stack's manual tells you the correct target name. Trust the manual over guesswork.
The FC and ESC Stack
In most modern 5-inch builds, the FC does not live alone. It is sold and installed together with the ESC as a matched stack: the ESC board on the bottom, handling battery power and motor output, and the FC on top, doing the thinking. The two boards share the same mounting pattern and connect through a short wiring harness or a direct solder connection.
This pairing exists for a very practical reason. The ESC deals with heavy current straight from the battery, while the FC deals with fragile low-voltage signals, and a matched stack means the manufacturer already answered the compatibility questions for you: connector pinout, voltage supply for the FC, current sensor calibration. If you want to see what the bottom board does with all that battery power, we covered it in our ESC deep dive.
Buying a matched stack will not make your drone faster, but it removes an entire category of beginner problems. Mixing an FC from one brand with an ESC from another can work, and plenty of experienced builders do it, but then checking pinouts and wire order becomes your job. For a first build, the stack is the boring, correct choice. And when you are ready to pick a specific one, including the F4 vs F7 decision and ESC current ratings, we wrote a full guide to choosing a flight controller and ESC stack.
Common Beginner Mistakes With Flight Controllers
The FC is reliable hardware, but it offers beginners a few classic ways to hurt themselves. These are the ones that show up most often.
Mounting it in the wrong orientation. Every FC has an arrow printed on the board pointing forward. Install it rotated and the drone will try to fix a roll with a pitch correction, which means it flips itself the instant you take off. If your wiring forces a rotated FC, Betaflight has a board alignment setting for exactly that case. Set it before the first flight, not after the first crash.
Skipping the soft mounting. Those small rubber grommets included with the stack are not decoration. They keep frame vibration away from the gyro. Bolt the FC down metal to metal and you will spend weeks chasing tuning problems that were never tuning problems.
Crushing a wire under the stack. During assembly it is easy for a motor wire or camera cable to slip under the stack and get pinched when you tighten the screws. A pinched wire can short against the board. Look under the stack before the final tightening, every time.
Testing motors with propellers installed. Betaflight Configurator will happily spin your motors from the motor tab. It has no idea whether props are mounted. Remove the propellers for any bench test, no exceptions. This rule is old, boring, and responsible for the complete set of fingers most pilots still have.
FPV Flight Controller FAQ
What is an FC and ESC stack on an FPV drone?
It is the flight controller and the ESC sold as a matched pair, mounted one on top of the other on shared standoffs. The ESC handles battery power and motors; the FC handles sensors and decisions. Buying them as a stack guarantees the two boards connect and communicate without custom wiring.
Do I need an F7 flight controller as a beginner?
No. An F4 board like the F405 runs Betaflight perfectly well for a first 5-inch build. F7 boards offer more UARTs (the serial ports used to connect accessories like GPS or a digital VTX) and more processing headroom, which matters more as your builds get more ambitious. Availability and a clean pinout matter more than the chip family at this stage.
Does the flight controller include GPS?
Usually not on freestyle-oriented FCs. GPS is an external module wired to a spare UART, and for a first 5-inch freestyle build it is optional. It becomes genuinely useful later, for rescue features and long range flying.
Recap
The FPV flight controller reads your stick commands and the gyro, compares intention with reality, and corrects the motors thousands of times per second. The gyro handles stability in every mode; the accelerometer only joins in when self-leveling is active. Betaflight is the firmware doing the thinking, configured over USB through Betaflight Configurator. And in a modern build, the FC arrives married to the ESC as a stack, which is exactly how a beginner should buy it.
What's Next
Understanding the FC is one thing. Talking to it is another. The next step is connecting the board to your computer and exploring the software side, and we have a complete walkthrough on installing Betaflight and connecting your drone to guide the first session. Bring coffee. The first time inside Configurator always takes longer than planned, and that is fine.